When someone tells you that they build computers for a living, you may be impressed. Rightfully so in lots of cases where the people have a deep technical knowledge that can only be achieved after years of learning at the highest level.
These people deserve respect. The world is full, however, of people who know just enough to fill their living rooms with parts and assemble them into working computers.
These people would be lost if asked to fault find using different types of test equipment that are utilised by the better educated engineers. No, the answer to a faulty part, thanks to the modular design of personal computers, is to discard it and install a new one.
It is because of the modular assembly, and the fact that home computers run on a safe, low voltage, that anyone can assemble their own computer at home and save money by doing so.
Here is the method, and a list of parts you will need, to build your own computer and impress your mom and dad at the same time.

Parts
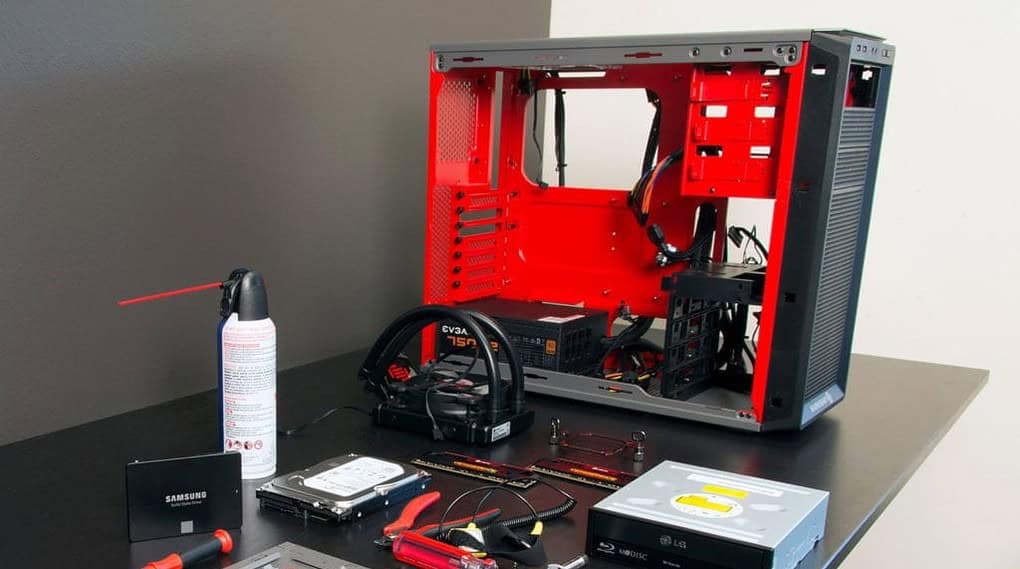
These are the basic parts you will need to buy. The specification of each part will depend on the use to which the computer is to be put. A gaming PC, for example, is going to need high-performance parts that will cost more than those used for office based applications. Take advice from your vendor.
Case: The cases come in standard sizes, ATX, Mini and micro. ATX is probably the most versatile choice and is recommended for a first build.
Power supply: The power supply fits into the case and they are constructed in the various form factors. It transforms mains voltage to low voltage.
Motherboard: Take advice from the vendor as to the best one to suit your purpose.
Processor: The processor must be suitable for the motherboard.
Hard Drive
RAM
DVD Drive.
Heatsink and cooling fan. The heatsink and fan cool the processor
Graphics Card.
Sound Card.
The sound and graphics may be built into the motherboard. You can still add a card, however, if you need better performance.
Construction
- Begin by installing the motherboard into the case according to the instructions. Cables from the case need to be plugged into the board. They are colour coded, and the instructions are clear.
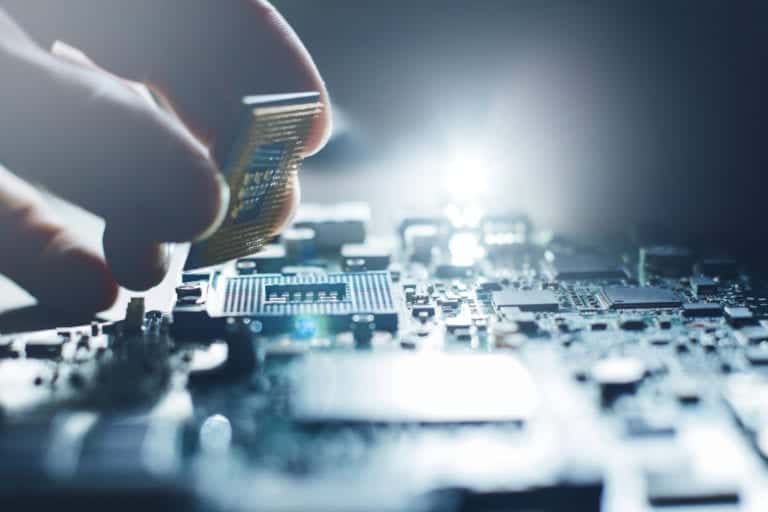
- Install the processor by plugging it into the board
- The heat sink comes next. Use thermal paste on the touching surfaces of the processor and heatsink.
- Fit the cooling fan onto the heatsink.
- Install the graphics and sound cards into the appropriate slots on the motherboard. The locations will be obvious when the cards are offered up to the boards.
- Install the ram modules into their slots.
- Install the hard drive and connect to the motherboard with the cables provided.
- Install the DVD drive in the same way as the hard drive.
- Close the case.
- Power up the computer.
The physical aspects of the build are now complete. All that is left is to install the operating system and the drivers for the components, that came on a disc accompanying the parts. Installing new operating systems is simplicity itself, and you will be guided through the process when the disc starts to run and install.
Everyone should try to build their own computer at least once. There is no great mystery to the process and there is always someone on hand who has done it before and will be able to advise them. It is also, a very satisfying project that could turn into a money-making hobby.


