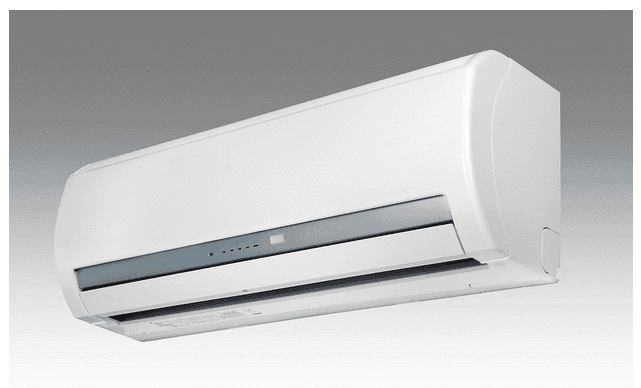
Air conditioners have become an integral part of our daily lives. Many of us cannot function without them, especially on hot days. But part of the reason they work so efficiently is regular cleaning and maintenance, and cleaning the condenser coils is vital to how well the system works.
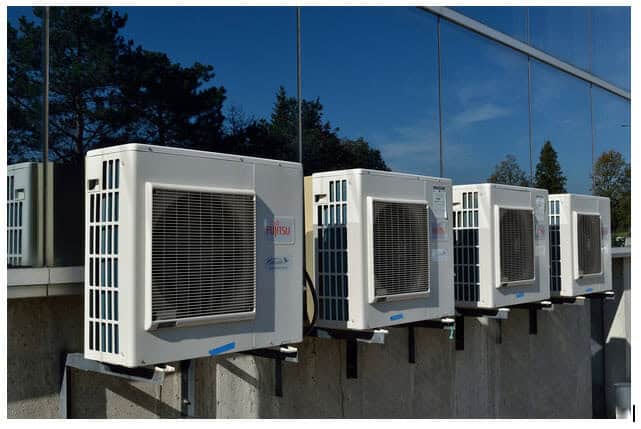
The condenser coils release heat from the air conditioning system into the atmosphere to ensure there is no overheating. They also condense the refrigerant during the cooling process. However, they get dirty over time because of their location in the outdoor unit.
Therefore, cleaning your air conditioner once or twice a year is crucial to keep the coils efficient. This article explains the steps to clean the condenser coils in your AC unit without professional assistance.
Steps to Clean AC Unit Condenser Coils
The following are the necessary steps to clean the condenser coils in a typical air conditioner:
Step One: Turn off the Air Conditioner
Turn off the air conditioner. You must disconnect the appliance from electric power before cleaning or running maintenance checks to prevent damage or electrocution. Do this by turning off the disconnect switch beside the outdoor unit or powering down the circuit breaker.
Step Two: Open the condenser cover to access the coils
Open the condenser cover to access the coils. The outdoor condensing unit typically comprises the condenser fins, fan, and compressor. It also houses other smaller components, such as the capacitor. Then, it has a cover or grate that you must remove to reach these components.
How you remove the condenser cover depends on the air conditioner model, but most have screws securing the cover. Locate these screws and unthread them. Lift them off and remove the cover. You may want to clean the cover at this point because it should be dirty.
Step Three: Vacuum the Condenser Fins
Next, vacuum the condenser fins. You will see small coils that are tightly fitted together; they are condenser fins. If you have never cleaned them, there should be a significant amount of dirt there. A vacuum cleaner should do the job, but you must carefully use it because the fins are fragile and can get damaged if you use excessive force.
Ensure you blow the air from the vacuum through the fins and not at an angle; doing this prevents damage. Also, blow the air from the vacuum opposite the direction where air typically flows through the coils so that the dirt does not scatter and makes cleaning the unit more difficult.
Step Four: Wash the Coil with Water
You can also clean the coils with water if there are stubborn stains that a vacuum cleaner does not handle. In such a case, you can use a garden hose to spray the coils but set the water pressure low to prevent damage.
Carefully spray the coils until the dirt flows out from the tight areas between them. Allow the dirty water to flow out from the condensing unit until the coils are clean. Leave the coils open until they air-dry; use the time to clean the condenser fan, compressor, and other parts of the outdoor unit.
Step Five: Allow the Condenser unit’s components to dry Completely
Allow the condenser unit’s components to dry completely before replacing the cover. Turn on the unit by switching on the disconnect beside it. Monitor the compressor, fan, and coils as they run to ensure they are in good working condition.
Important Notes
If you will clean the coils with a cleaning agent instead of water alone, ensure you do not use an abrasive cleaner. The reason is that it will corrode the coils over time and cause them to leak. And if this happens, the air conditioner will lose refrigerant, which is dangerous.
Additionally, you have the option of using professional assistance. HVAC service agents are in the best position to clean the coils to prevent any damage. So, consider contacting the air conditioner’s manufacturer or hiring an independent technician for the job.


