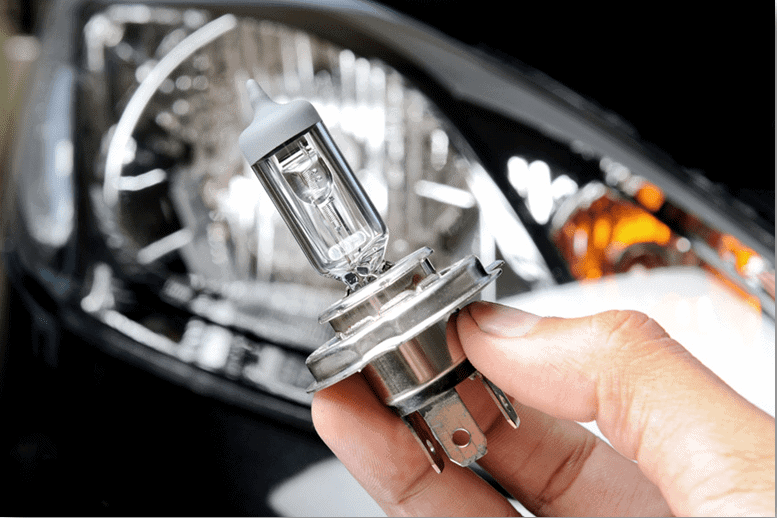
The headlight of the car is the part that guides the driver to drive on a path smoothly in nights, in fog, in rains at first, after that only driver needs the rear mirrors and side mirrors help to drive.
If the headlight of the car is not working the person will not only be unable to drive properly, but there are high chances that they might get charged with a fine for that and in the worst scenario, one can collide with the other vehicles on the road and this can lead to a serious miss happening.
So do not put yourself and the passengers that are traveling with you in any kind of danger and do not risks your life’s for something so simple like changing the headlights.
So before driving not only the engine and batteries should be checked and should be in perfect shape, but also your headlights should be in the perfect state to have completely safe driving experience.
And if you find out that your headlights are not working properly and its time to replace them, then you must do it at that very second. While you can seek professional help for that but changing the headlights is not a very big task and you can avoid going to professional and paying so much money. All you need to know is what steps are there to change the headlights.
So let’s discuss what is the step that you should know to change the headlights of your car:-
Step by Step Instructions
Step One: So this should be the most important step and even if you know everything about changing the headlights and cars you should not skip this step, i.e. “read your car’s manual”.
These will not only let you aware of the headlights and it’s the position, but it will also make you aware about your car and one should always be aware of their car before opening it.
Because not knowing about your car and the placement of the parts and with what kind of tools it should be handled, you will end up in a mess and that can cost you a lot of time and maybe money also if you ended up getting professional involved to clear your mess.
Step Two: By the time you are done with the manual reading you are aware of the kind of bulb that your car has in the headlights. So once you know the type or brand, the next step is to buy the headlight bulb from the same brand with that specific made or buy something like that which suits your car needs better. And this step should be done before you rip open your car and then get confused about what to be done.
Step Three: Now comes the part from where you are actually doing the bits to change the bulb. The first thing you need to know in the process of changing the headlights is how to reach them.
If you have gone through the manual and haven’t skipped to this step directly than you must be aware of the exact place of headlights and how to reach them. But if you haven’t gone through the manual, then generally to reach the headlights you need to go through the engine compartment and might have to remove some parts before popping the headlights out.
Step Four: So moving forward, next step is how to remove the old bulb from the car, many cars have their bulbs secured with the wire assembly in the headlight assembly while others have the bulbs positioned directed into the headlights assembly.
So by now you must be aware of the tools that your car needs to get the old worn and torn bulb out, so grab them and do the work that is left like screw out the bolts if there any, if the bulb is connected with power wire remove them, if there is any dust cover present remove it too, if any clips which are holding bulb are there get rid of them.
Step Five: Now this is the step where you remove the bulb from the car’s headlight. All you have to look is what motion does it require to remove it from the headlights, some bulbs need to be held and pulled out from the place while other needs some twisting method to get removed.
While whichever method you are using to remove the bulb be sure to be gentle, otherwise you might break the bulb and get yourself hurt.
Step Six: Now is the time to install new build but before doing so make sure your bulb is fully clean and there is no dust, oil or sweat there on the bulb because that can cause early worn out of a bulb and that will be a waste of energy and time.
Step Seven: Now take your bulb and make sure you are holding it from its housing, and insert it in the open socket by lining it properly and than attach any wire if there is some to do, put the dust cover on back if it was removed, put back the all the clips etc.
On the correct place if you have removed any. And replace whatever you have removed to reach out to your bulb and make it look like just before.
Step Eight: Now start the engine and turn on the lights and check if all are working or not. Check for the alignment is that fine or not, if not than align your lights immediately.
So with these simple steps, you can become the pro in changing lights and can easily do it if there is any need. And you can save the day by knowing it all. While if you don’t feel confident about it, the professional help is just a call away and you can have them whenever you want to help you.
Related Topics
- Innoson G5
- Top 20 Cars in India
- Car Prices in Nigeria
- Ten Car Gadgets
- Toyota Dealers in Nigeria
- Ford Dealers in Nigeria
- Used Cars For Sale in Nigeria
- Honda Vehicle Dealers and Prices
- How to Extend the Lifespan Of Key Car Parts
- Ways to Save on Gas Mileage
- Benefits of Professional Car Wrecker Services
- Car Spare Parts Market Trends
- How To Recondition A Car Battery


