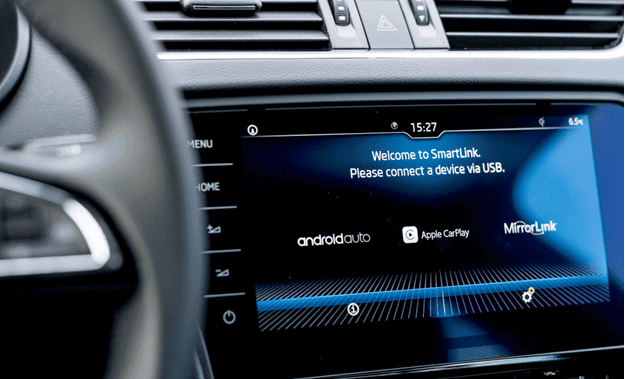
Stereo or head-units are one of the most important parts of a vehicle. After a certain time, you might feel like replacing the old one with a new, advanced head-unit. In this article, you can learn how to install an android head unit.
Well, keep the user manual, as well as your car’s manufacturer, guide handy as well, you know, just in case you happen to mix up. The steps given here are the basic ones involved for installing an Android head unit on a car.
However, there might be some minor difference in the steps involved for different brands. If you’d like to have more specific reviews, you can check out autonerdsreview.
Tools needed for installing an Android Head Unit
- Screw-driver/ Radio removal key
- Cutters
- Appropriate Wire harness
- Car and stereo user manual/guide.
Steps to install Android Head Unit
- Take safety measures: The first step to installing Android head unit would be disconnecting the battery connection by disconnecting the negative cable. This is important to prevent any short-circuit or an accident.
- Remove dash or trim: Next step is removing the trim (and any other connecting components). Thereafter, undo the nuts and screws and other components attaching the car’s current stereo. Before doing so, it is ideal to capture an image of how the current set-up and wiring is, so you can refer those images while re-attaching everything back.
- Remove the old stereo: Pull the stereo out carefully after taking the screws and nuts out. If you find anything obstructing, don’t pull it harder. Instead, check if you have left-out unplugging or loosening any component.
- Assembling the new stereo: Next step involved is assembling the stereo’s mounting kit (side brackets or holding sleeves). In some cases, the side-mounts come attached, and so, no additional assembling might be needed. Refer stereo user manual, in case you feel any doubt.
- Connect the new stereo: Now you need to connect the car’s wire harnesses to those of your new stereo. If there isn’t any harness in your car’s stereo, manually connect each wire. You can refer to the pic you earlier captured to see how the wires were connected avoid any confusion while you match and connect the wires. Note that all the wires are to be connected without skipping any.
- Testing the new stereo to confirm good functioning: Test the stereo before fixing it back with all the other components. Test all the features of the stereo to ensure it is working properly. In case it isn’t working, check the wires and connections again.
- Finish up: Once you have tested the stereo’s working, and fixed an issue, place it back and fix with the screws and have the components reconnected, just as they were earlier. Make sure you have everything right in place and properly fixed. After you place it back right, put the trim/ dash surrounding the stereo. Try and test the stereo once again.
That’s all the steps involved in replacing your old stereo and installing a new android stereo. If you would like to know more and read reviews about android head units, you can always check out autonerdsreview.com.


